13 Comprehensive Steps To setting up and packing up a Camping Tent: Tell Me If I Wrong?
Mastering the art of setting up and packing up a camping tent is the key to a triumphant camping expedition, and this invaluable skill is frequently undervalued.
In a nutshell, the process of setting up and packing up a camping tent involves several key steps. To set up, begin by selecting a level campsite, placing a ground tarp, and unfolding the tent. Then, insert the poles, secure the rainfly, and stake down the tent. When it’s time to pack up, start by removing the stakes and detaching the rainfly. Collapse the poles, fold the tent neatly, and pack away all the components.
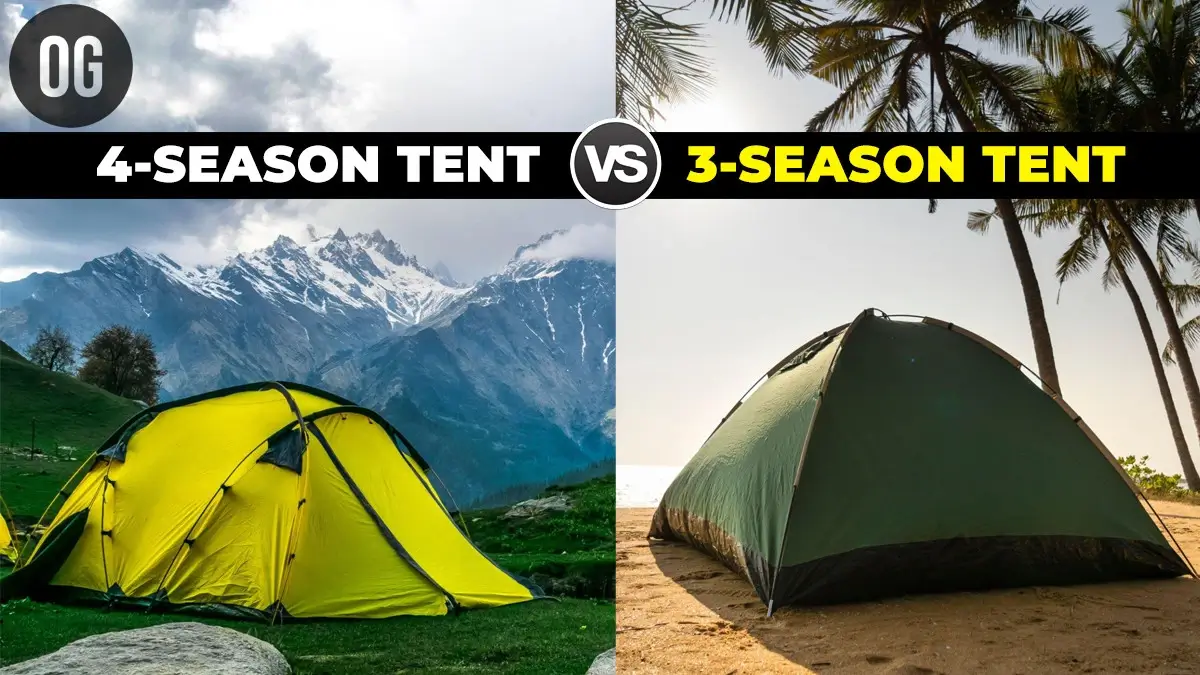
Don’t forget to clean and thoroughly dry the tent before storage, there are different types of tents used in India which are mostly 3-season and 4-season tents built with different types of materials. Therefore, this simple step significantly extends its lifespan.
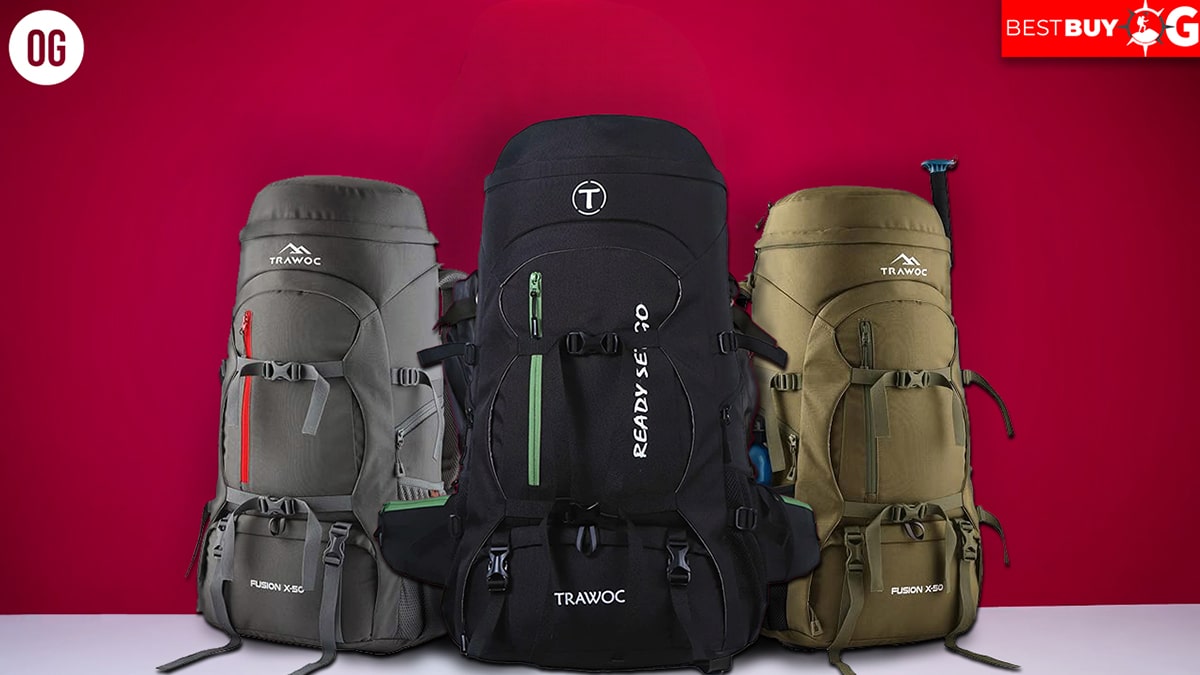
Related: 7 Best Tents For Camping And Backpacking
Table of Contents
This comprehensive guide ensures you’re well-equipped, guiding you through selecting the perfect campsite and expertly setting up and packing up a camping tent. The result? An unmatched camping experience that embraces Leave No Trace principles!
Setting Up And Packing Up a Camping Tent: Preparing for Setup
Launching into nature for a camping adventure can be an immensely relaxing and rejuvenating experience, offering respite from daily life’s grind.
However, beneath its allure lies the intricate process of campsite preparation – an integral step that significantly determines the success of any journey.
Before setting out on your expedition let’s examine all essential aspects of tent setup preparation so your temporary abode fits seamlessly with its environment and is fully secure as you embark on this incredible journey!

Choosing the Right Campsite
1. Level Ground: The foundation of a successful campsite lies in finding a level ground for your tent.
Avoid slopes, as they can lead to discomfort during sleep and hinder the proper functioning of your gear.
A flat surface contributes to stability, preventing potential mishaps and ensuring a restful night’s sleep.
2. Shelter from Wind and Sun: Nature’s elements can be unpredictable, and finding a spot shielded from strong winds and harsh sunlight is paramount.
Seek out natural barriers like trees or rock formations that can serve as protective shields.
This not only enhances your comfort but also safeguards your tent from potential damage.
3. Distance from Water Sources: While proximity to water sources is essential, striking the right balance is crucial.
Position your best camping tent at a reasonable distance from rivers or streams to avoid flooding during heavy rains.
Additionally, maintaining an appropriate distance minimizes the risk of unwanted critter visitors seeking refreshment.
Gathering Necessary Equipment
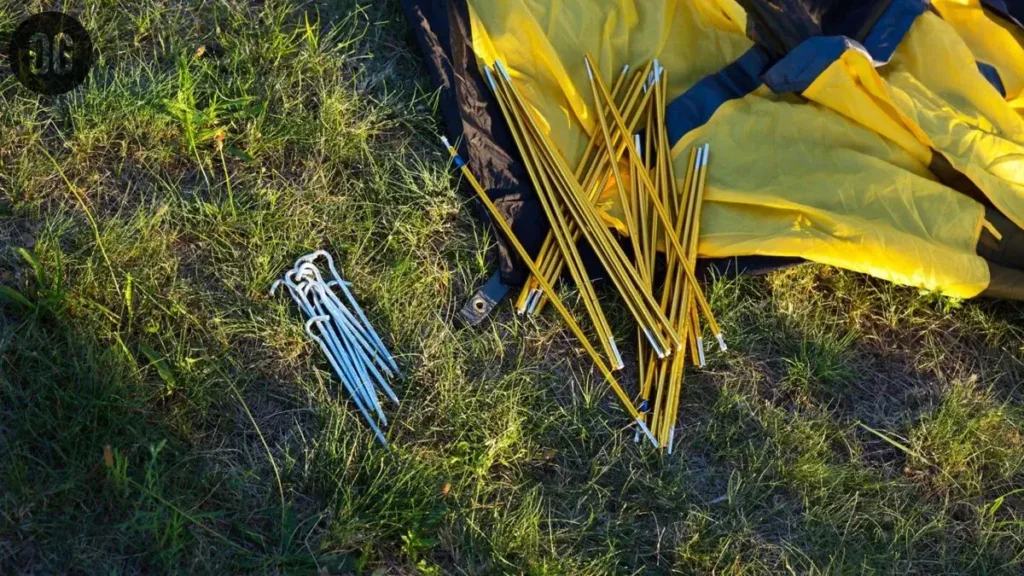
1. Tent Components: Before embarking on your adventure, familiarize yourself with the components of your tent. Lay them out and identify each piece to streamline the setup process.
This knowledge proves invaluable when you’re faced with the task of assembling your temporary home amidst nature’s grandeur.
2. Tools Needed: Equipping yourself with the appropriate tools can make or break your campsite preparation.
Carry a lightweight, compact toolkit that includes essentials like a mallet for securing stakes, a multi-tool for minor repairs, and spare parts in case of unforeseen mishaps.
3. Additional Gear (Ground Tarp, Guy Lines, Stakes): Elevate your campsite setup by including supplementary gear that enhances stability and comfort.
A ground tarp serves as an extra barrier against moisture, while guy lines and stakes bolster the resilience of your tent against gusty winds.
Small but essential camping components can have a big impact on your overall camping experience.
Check out this Comprehensive Step-by-Step Tent Setup Guide

Escaping from urban life doesn’t only require setting off on a camping adventure – it also involves forging meaningful bonds with nature while becoming self-reliant. At the core of this endeavor lies setting up your tent – an intricate process which, when performed with care and precision, turns shelter into sanctuary.
Unpacking and Organizing
Begin your tent setup with solo backpacking tents or large family camping tents, with a deliberate unboxing and organization of its components. Lay out all parts methodically to familiarize yourself with each piece.
Take a moment to inspect for any damage or wear, as addressing these early on can prevent complications later.
Author Recommends

Coleman Darwin Tent
We used Coleman Darwin 2-person Dome Tent while camping at the mountains Mahendragiri located at Rayagada block of the district of Gajapati, Odisha, India.
The Coleman Darwin Dome Tent is a true camping gem! With easy setup and spacious design, it’s a cozy home away from home. Its durability and weather resistance ensure peace of mind, while the smart ventilation keeps you fresh. Explore the outdoors in comfort and style.
Mahendragiri Hills is absolutely breathtaking if you are looking for a fantastic outdoor adventure on a budget that anyone can afford then this is the place that you must hit. And our first recommendation is a camping adventure, believe me, it is totally awesome you will never forget that camping experience.
Whereas, camping at Mahendragiri or any other place if you are planning for solo, 2-person, or 3-person camping then Coleman Darwin Dome Tent is the best option.
If you are tight on budget then you can go for its alternate option Amazon Basics Tent. Its material quality is also good and quite durable more than that it is half the price compared to the Coleman backpacking tent. Though overall product quality is not so impressive in terms of longevity whereas Coleman tents are much better.
Laying Down a Ground Tarp

The foundation of your campsite rests upon a ground tarp, offering protection from dampness and minimizing wear on your tent’s floor.
Spread the tarp meticulously, ensuring it’s free of wrinkles and flat against the terrain. Align its edges with the desired location of your tent.
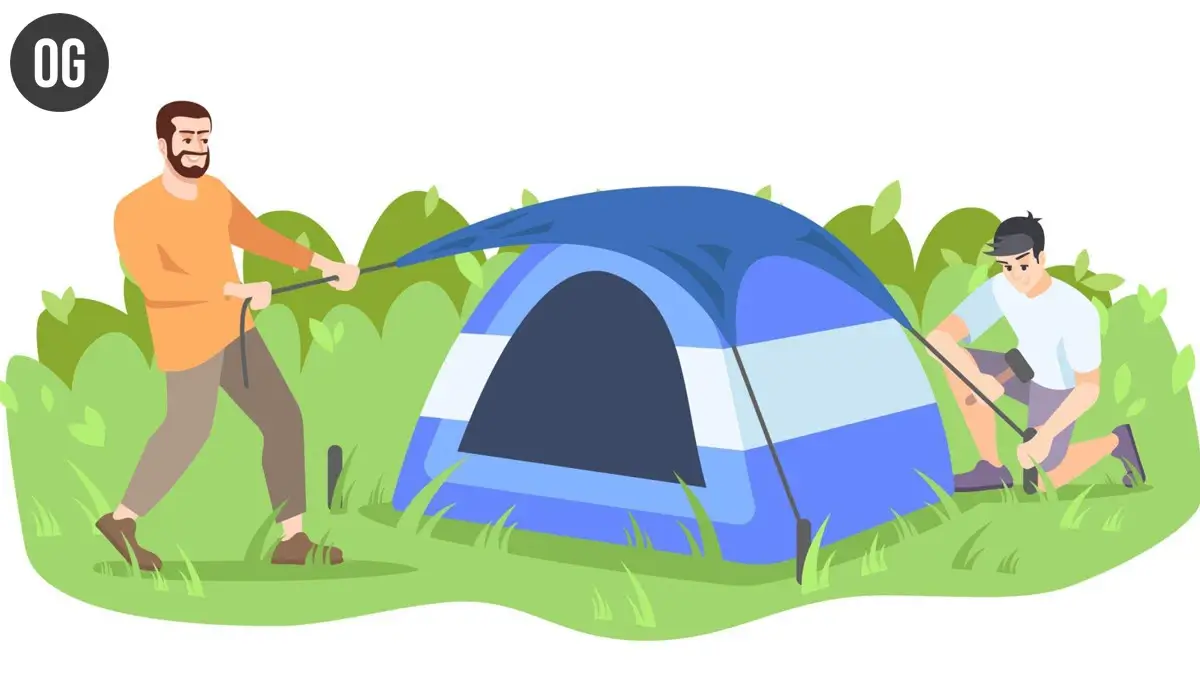
Assembling Tent Poles and Structure
With your ground tarp in place, embark on assembling the tent poles and structure.
Step 1: Lay Out Components
Gather all tent components – poles, segments, connectors, and sleeves. Lay them out to visualize the setup process and ensure no parts are missing or damaged.
Step 2: Identify Pole Segments
Examine the pole segments, usually color-coded for simplicity. Different lengths often indicate specific locations in the tent’s framework.
Step 3: Thread Poles Through Sleeves
Starting with the longest segments, carefully thread them through the designated sleeves on the tent body. Follow the predetermined order to create the tent’s skeleton.
Step 4: Attach Pole Ends
Connect the pole ends to corresponding grommets or hooks on the tent’s corners. Secure each pole tightly to establish a stable framework.
Step 5: Snap Clips or Attach Connectors

For tents with clip systems or connectors, secure them to the poles as instructed in the manual. These mechanisms fasten the tent body to the poles and provide added stability.
Step 6: Raise the Tent
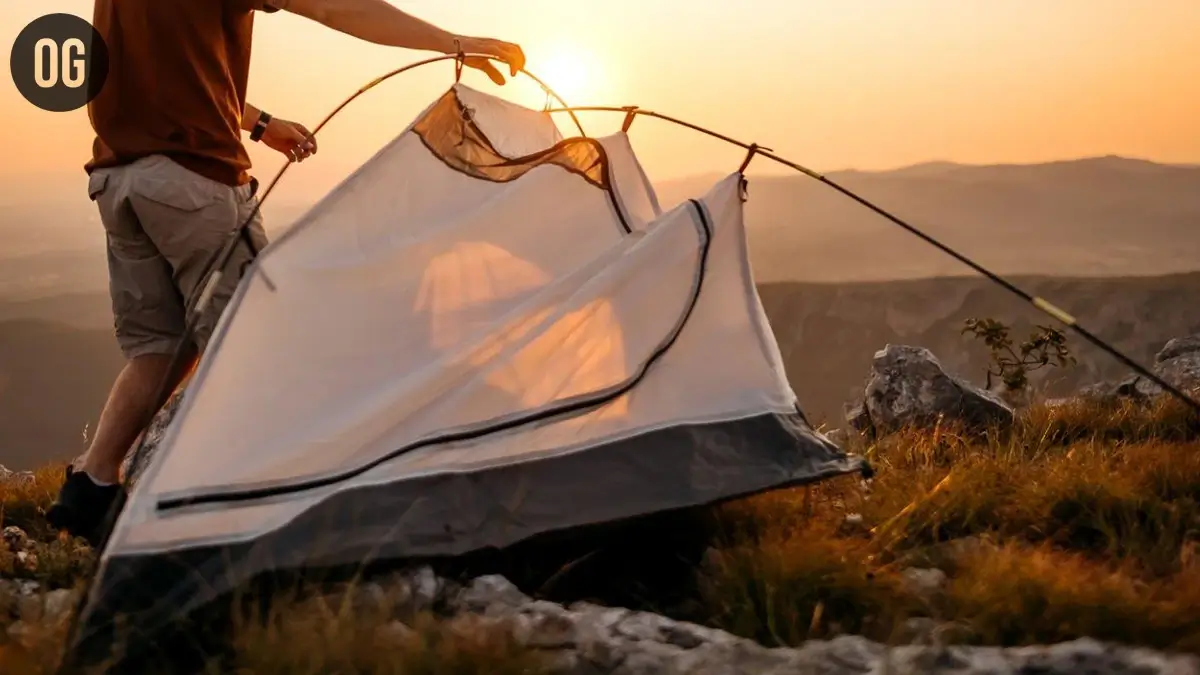
Gently lift the assembled structure to an upright position. Ensure that the poles are firmly seated in their designated connectors or grommets.
Step 7: Secure Additional Poles
For tents with multiple pole sections, repeat steps 3 to 6 for each section. Ensure all poles are securely fastened and the tent’s shape is taking form.
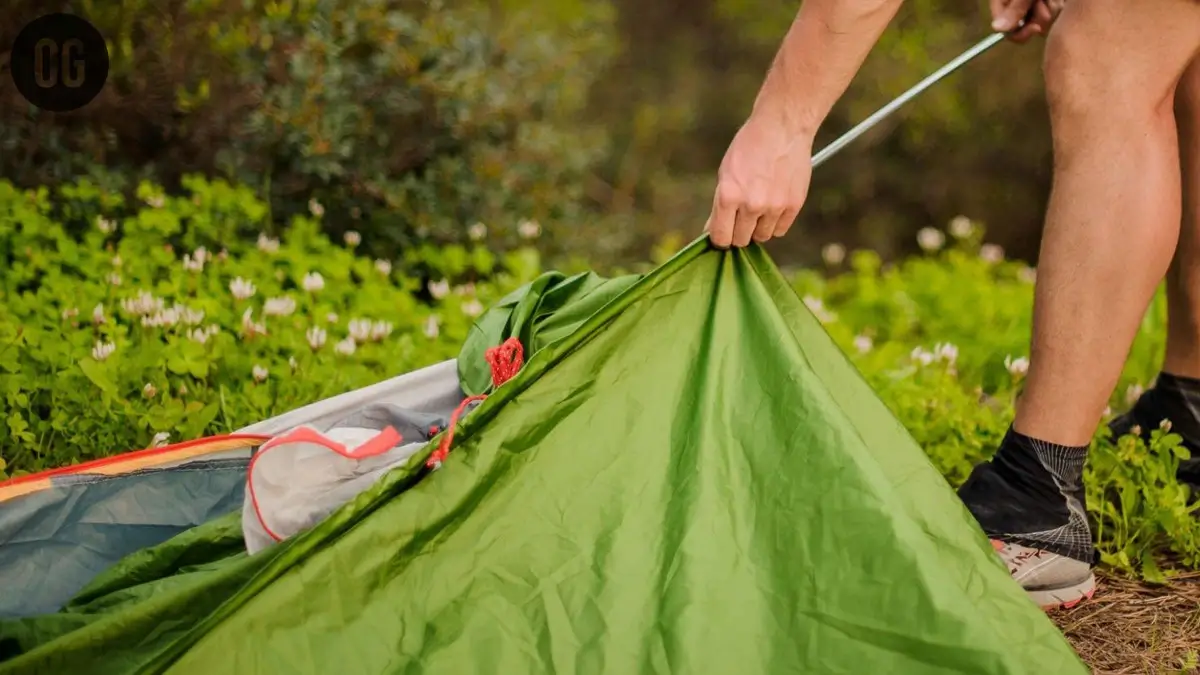
Attaching Rainfly (if applicable)

For added protection against the elements, affix the rainfly to your tent. This layer shields your temporary abode from rain and provides extra insulation.
Align the rainfly with the tent’s structure, securing it with clips or hooks. Ensure proper tension for optimal performance.
Staking Down the Tent
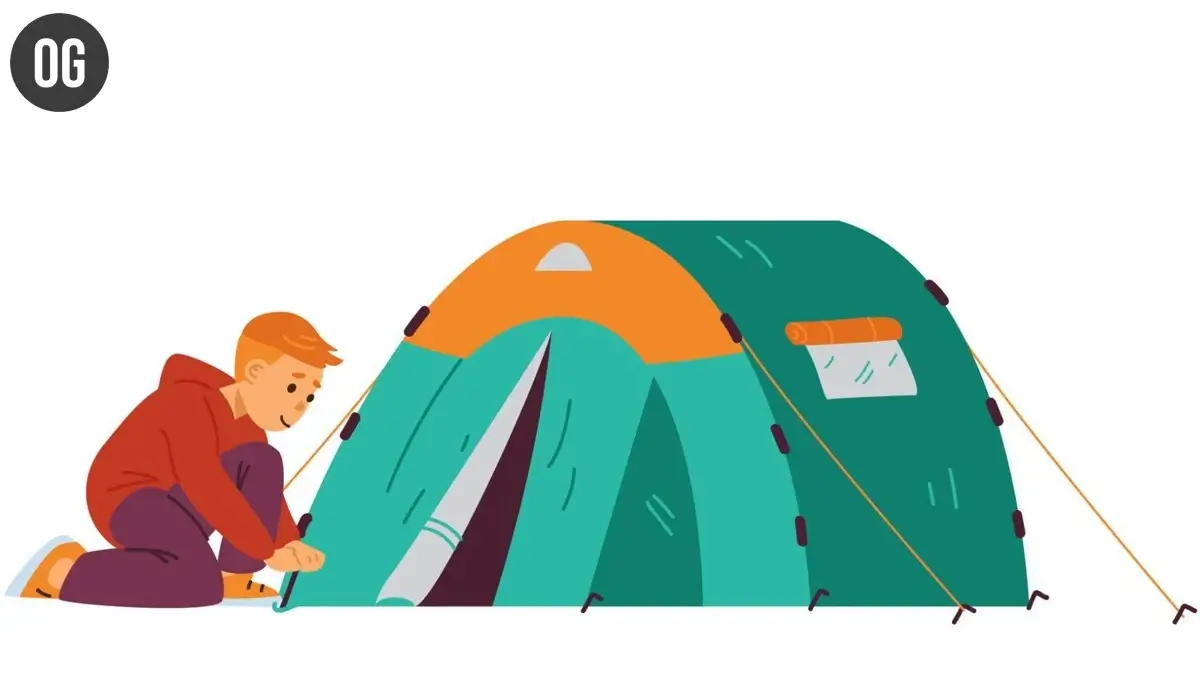
Staking down your tent is a pivotal step to prevent shifting and sagging. Adhere to these key considerations:
1. Proper Staking Techniques: Insert stakes at a 45-degree angle away from the tent’s base, ensuring they’re driven deep into the ground for stability.
2. Tensioning the Tent: Achieve proper tension by adjusting the stake placement and utilizing tensioning straps or mechanisms provided by your tent’s design.
Adjusting Guy Lines for Stability

Utilize guy lines to further stabilize your tent against wind and external forces.
Extend these lines from designated points on the tent, affixing them securely to stakes driven into the ground.
Maintain tension, but avoid over-tightening, which can strain the tent’s structure.
Interior Setup and Arrangement
Finally, step inside your tent and curate your personal oasis:
1. Sleeping Area: Position your sleeping gear towards the center, optimizing space and reducing strain on tent walls. Ensure your sleeping bag is well-insulated from the ground.
2. Gear Storage: Dedicate a corner for gear storage, keeping items off the floor to prevent moisture absorption. Utilize pockets, loops, and hooks within the tent for organized storage.
Expert Tips for a Comfortable Campsite
Nature’s embrace holds a promise of tranquility and adventure, and as you set foot into the great outdoors, the allure of a comfortable campsite becomes a beacon of respite after a day of exploration.
While the wild may offer stunning landscapes, achieving true comfort amidst its grandeur requires a thoughtful approach.
Let’s explore the art of creating a cozy campsite, where the elements of nature harmonize seamlessly with your comfort.
Ventilation and Condensation Prevention

Breathable air is the lifeline of a comfortable campsite. To ensure a well-ventilated tent and prevent condensation, follow these steps:
Partial Rainfly Coverage: If weather permits, leave a portion of your tent’s rainfly open to allow fresh air circulation and reduce moisture buildup.
Mesh Panels Utilization: Many tents come equipped with mesh panels for enhanced ventilation. Position these strategically to take advantage of natural airflow.
Nighttime Ventilation: Before sleep, unzip doors slightly to create a cross-breeze, combating the formation of condensation.
Setting Up a Vestibule or Awning
Elevate your comfort level by incorporating a vestibule or awning into your campsite setup:
Vestibule Benefits: Attach a vestibule to your tent’s entrance for a designated space to remove muddy shoes, store gear, or cook in inclement weather, preventing clutter inside.
Awnings for Shade: If your campsite lacks natural shade, erect an awning using trekking poles, ropes, and tarps. This provides shelter from the sun and rain, offering an outdoor living space.
Consideration for Weather Conditions
Weather conditions are a dynamic force in the wilderness. Prioritize comfort by preparing for the elements:
Layered Clothing: Pack versatile clothing layers to adjust to changing temperatures throughout the day.
Rain Gear: Carry waterproof clothing and gear to stay dry during sudden showers.
Cold Weather Comfort: Insulate your sleeping area with a high-quality sleeping bag and pad for warmth during chilly nights.
Tent Placement for Privacy
Crafting a comfortable campsite involves thoughtful tent placement that balances comfort and privacy:
Distance from Others: Set your tent at a reasonable distance from neighboring campers to ensure a sense of solitude and minimize noise disruptions.
Natural Barriers: Position your tent behind natural barriers like trees or boulders to create a secluded ambiance and reduce exposure to wind.
Entrance Direction: Orient your tent’s entrance away from prevailing winds to minimize drafts and enhance privacy.
A Guide to Enriching Your Campsite Experience

Amidst the embrace of towering trees, rustling leaves, and the symphony of chirping birds, your campsite transforms into a canvas for nature-inspired adventure and tranquility.
As you immerse yourself in the wilderness, embracing the delicate balance between exploration and preservation becomes paramount.
Here, we unveil the essential pillars that define a fulfilling and responsible campsite experience, elevating your connection with the great outdoors while safeguarding its pristine beauty.
Campfire Safety and Regulations
The flickering dance of a campfire not only warms the soul but also invites storytelling and camaraderie.
However, the enchantment of flames is accompanied by the responsibility of adhering to safety and regulations:
Knowledge is Power: Familiarize yourself with local fire regulations and restrictions. Understand whether campfires are permitted, and if so, the designated areas and guidelines for their creation and maintenance.
Fire Ring Creation: If campfires are allowed, utilize established fire rings or create a fire pit away from overhanging branches, dry grass, and flammable materials. Clear a circumference around the fire of at least 10 feet.
Control and Extinguishment: Maintain a watchful eye on your fire at all times, and keep a bucket of water or sand nearby for quick extinguishment. Ensure the fire is completely out before retiring for the night or departing.
Leave No Trace Principles
In our role as custodians of nature’s splendor, embracing Leave No Trace principles isn’t merely an option – it’s a moral duty, particularly when setting up and packing up a camping tent:
Pack It In, Pack It Out: Everything you bring to your campsite must leave with you. Dispose of waste properly, including food scraps and trash, to preserve the ecosystem’s delicate balance.
Minimize Impact: Tread lightly and avoid trampling on fragile vegetation. Use established trails and campsites to prevent soil erosion and habitat disruption.
Respect Wildlife: Observe animals from a distance, refraining from feeding or approaching them. Maintain a respectful coexistence to safeguard both their well-being and yours.
Exploring Nature Responsibly
The allure of the wild beckons explorers and adventurers alike. To maximize your experience while respecting the environment, consider these pointers:
Stay on Designated Paths: When hiking or exploring, stick to established trails to minimize disruption to local flora and fauna.
Practice LNT Ethics Everywhere: The principles of Leave No Trace extend beyond your campsite. Apply them to every facet of your outdoor journey, including meals, bathroom breaks, and interactions with nature.
Cultural and Historical Sites: Preserve the integrity of cultural and historical sites by refraining from disturbing artifacts or altering structures.
Educate and Share: Inspire others to adopt responsible practices by leading by example and sharing the wisdom of sustainable outdoor ethics.
Mastering the Skill of Taking Down Your Tent

Just as a painter meticulously crafts each brushstroke in their masterpiece, an experienced camper approaches the process of setting up and packing up a camping tent with an analogous mix of precision and mindfulness.
The ritual of dismantling your temporary abode is not merely an end but a harmonious transition that closes one chapter while preparing you for the next.
Clearing the Interior
Begin your tent’s dismantling journey by clearing the interior of all belongings. Carefully remove sleeping gear, personal items, and any remaining supplies.
This step serves not only to prevent items from being left behind but also ensures a clean canvas for disassembly.
Removing Stakes and Guy Lines
The tethering web of stakes and guy lines that once secured your tent now gracefully relinquishes its hold:
Methodical Approach: Start with one corner and work your way around, systematically removing stakes and loosening guy lines.
Organization: As you detach each stake and line, keep them organized to avoid tangling or misplacement, ensuring a smooth setup for your next camping escapade.
Disassembling the Tent Structure
The heart of your campsite, the tent structure, now surrenders to the touch of disassembly:
Reverse Engineering: Begin by undoing the tent poles’ connections, gently sliding them out of sleeves, or unclipping them from attachment points.
Collapsing Framework: Gradually collapse the framework, taking care to avoid bending or stressing the poles. Consult the tent’s manual for any specific instructions on disassembly.
Folding and Packing Components
Elegantly folding your tent is an art that brings order to chaos, and with practice, transforms it into a compact package ready for storage or transport:
Surface Preparation: Lay the tent on a clean, dry surface to avoid dirt or debris from becoming trapped during folding.
Methodical Folding: Fold the camping tent in a manner that avoids creases and strain on the fabric. Typically, folding it into thirds lengthwise and then widthwise is a good approach.
Bagging It Up: Place the folded tent, rainfly, and other components into their designated carrying bag. Ensure a snug fit, but avoid over-compression that could stress zippers or seams.
Expert Strategies for Storing Your Tent
As your latest camping escapade draws to a close, the final act of the outdoor symphony begins: storing your tent.
This seemingly routine task holds the power to prolong your gear’s life and ensure its readiness for future adventures.
Beyond mere functionality, the act of storing your tent is a gesture of respect for the experiences shared within its shelter.
Drying and Cleaning
Before your tent finds its place in storage, meticulous drying and cleaning are essential:
Air and Sun: Set up your tent outdoors in a well-ventilated area on a sunny day. Allow it to air out fully, eliminating moisture that could lead to mildew or odors.
Spot Cleaning: Address stubborn stains or debris with a gentle scrub using mild soap, warm water, and a soft brush. Rinse thoroughly and allow the tent to dry completely.
Seam Care: Pay special attention to seams, zippers, and Velcro closures. Ensure they are clean and dry to prevent deterioration or corrosion.
Proper Tent Storage Techniques
While preparing your tent for its upcoming escapade, employing correct storage methods guarantees its enduring lifespan and consistent functionality in setting up and packing up a camping tent.
Loose Storage: Avoid overcompression by storing your outdoor tent loosely in its designated stuff sack or storage bag. Over time, excessive compression can weaken the tent’s fabric and compromise its waterproofing.
Avoid Extreme Temperatures: Store your tent in a cool, dry place away from direct sunlight and extreme temperature fluctuations. Extreme heat can cause materials to degrade, while cold temperatures may make fabrics brittle.
Elevated Storage: If possible, elevate your tent off the ground on a shelf or rack. This prevents contact with potential pests and moisture that could seep through the floor.
Separate Components: Whenever feasible, separate tent components, such as rainflies, poles, and stakes. This prevents stress on fabric and materials during storage.
Desiccants: Include moisture-absorbing desiccant packs in the storage area to prevent excess humidity and thwart mold growth.
Regular Inspections: Periodically check your stored camping tent for any signs of damage, mold, or pest infestations. Promptly address any issues to prevent further deterioration.
Conclusion
Embark on a seamless camping journey with this all-encompassing guide to setting up and packing up a camping tent. Learn to select optimal campsites, and perfect staking, and folding skills. Forge unforgettable memories, explore nature, and practice expert tentmanship while ensuring you leave no trace behind.
FAQs: Setting up And Packing up a Camping Tent
What is a tent stake called?
A tent stake is often referred to simply as a “stake” or “tent peg.” It’s a pointed or angled object that is driven into the ground to secure the corners and edges of a tent, providing stability and preventing it from being blown away by wind or other forces.
What is the heaviest part of a tent?
Usually, it’s the tent poles that bear the most weight, a consistent reality regardless of the tent’s style. This remains valid across all tent types, as the fabric’s increased strength demands sturdier, and consequently heavier, poles to ensure reliable support.
What is best to put under a tent?
A ground tarp or footprint protects from moisture and abrasion. Natural ground, pine needles, leaves, or a camping mat offer insulation and comfort. Always clear the area of debris before setup.
What is the most essential part of a tent?
Pole attachment points are where you secure the end tips of your poles after threading them through the tent fabric, forming the shelter’s structure. These points serve a dual role as essential structural components and frequently function as pegging points.
Which direction should a tent face?
While some campers opt to align the tent with the smaller side to minimize wind resistance, prioritizing the side with the sturdiest pole structure facing the wind is crucial. In warmer climates, consider positioning a door to catch the breeze for cooling purposes.